Trailer wheel bearings may be small, but they play a vital role in keeping your trailer safe and roadworthy. They allow the wheels to spin freely while carrying heavy loads, preventing friction and overheating. When they begin to wear out, you might notice unusual noises, heat around the hub, or even wheel instability, all of which can put your trailer and towing vehicle at risk.
In this guide, we’ll walk you through how to change a bearing on a trailer step by step. From understanding why bearings fail to preparing the right tools and completing the replacement, you’ll gain the knowledge and confidence to tackle the job properly.
What trailer bearings do and why they fail
Trailer bearings are small but essential components that sit inside the hub of each wheel. Their main function is to allow the wheel to rotate freely around the axle while carrying the full weight of the trailer. By reducing friction between the moving parts, they make towing smoother, protect the axle, and prevent damage to other components such as the brakes. Without properly functioning bearings, even a well-built trailer will quickly become unsafe.
Despite their strength, trailer bearings are constantly exposed to stress, heat, and sometimes water. Grease plays a vital role in protecting them, but over time, it breaks down and loses its effectiveness. Old or contaminated grease cannot provide the same level of lubrication, which increases metal-to-metal contact. Worn or cracked seals allow dirt and moisture inside the hub, accelerating wear and leading to rust or pitting on the bearing surfaces. Poor installation, such as over-tightening the castellated nut or using the wrong size bearing, is another common reason for premature failure.
When bearings begin to fail, the friction they create generates significant heat. This not only damages the bearings themselves but can also score the spindle, damage the hub, and increase the risk of the wheel seizing altogether. In the worst-case scenario, a seized or failed bearing can cause the wheel to detach, creating a serious safety hazard on the road.
Signs your trailer bearings need replacing
Recognising a worn or damaged bearing early can save you from costly repairs and dangerous breakdowns. While servicing is the best way to confirm their condition, there are several warning signs that can alert you before a complete failure occurs:
- Grinding, squealing, or humming noises while towing: These sounds are usually the first indicator that something is wrong inside the hub. They are caused by rough, dry, or damaged rollers rubbing against the races.
- Heat around the hub after short trips: After towing for only a short distance, lightly touch the hub with the back of your hand. It should feel warm but not hot. Excessive heat means the bearings are creating too much friction, either from a lack of grease or improper adjustment.
- Noticeable wobbling or looseness in the wheels: Jack up the trailer and try rocking the wheel from top to bottom. Any movement suggests that the bearings are loose, worn, or have lost preload.
Other symptoms can include leaking grease around the seal, visible damage to the dust cap, or uneven tyre wear caused by misalignment in the hub. Catching these issues early prevents further damage to the hub and axle, which are far more costly to replace than the bearings themselves.
Replacing bearings requires patience and the correct tools, but it is a skill most trailer owners can learn. The challenge lies in carrying out each step carefully to ensure the new bearings are seated and lubricated properly. When done correctly, fresh bearings will restore smooth operation and provide thousands of kilometers of safe towing.
Preparing for the Job
If you notice any of the symptoms above, it’s time to prepare for a replacement. Knowing how to change a bearing on a trailer starts with having the correct tools and parts ready before you begin.
Tools and safety equipment you’ll need
At a minimum, you’ll need:
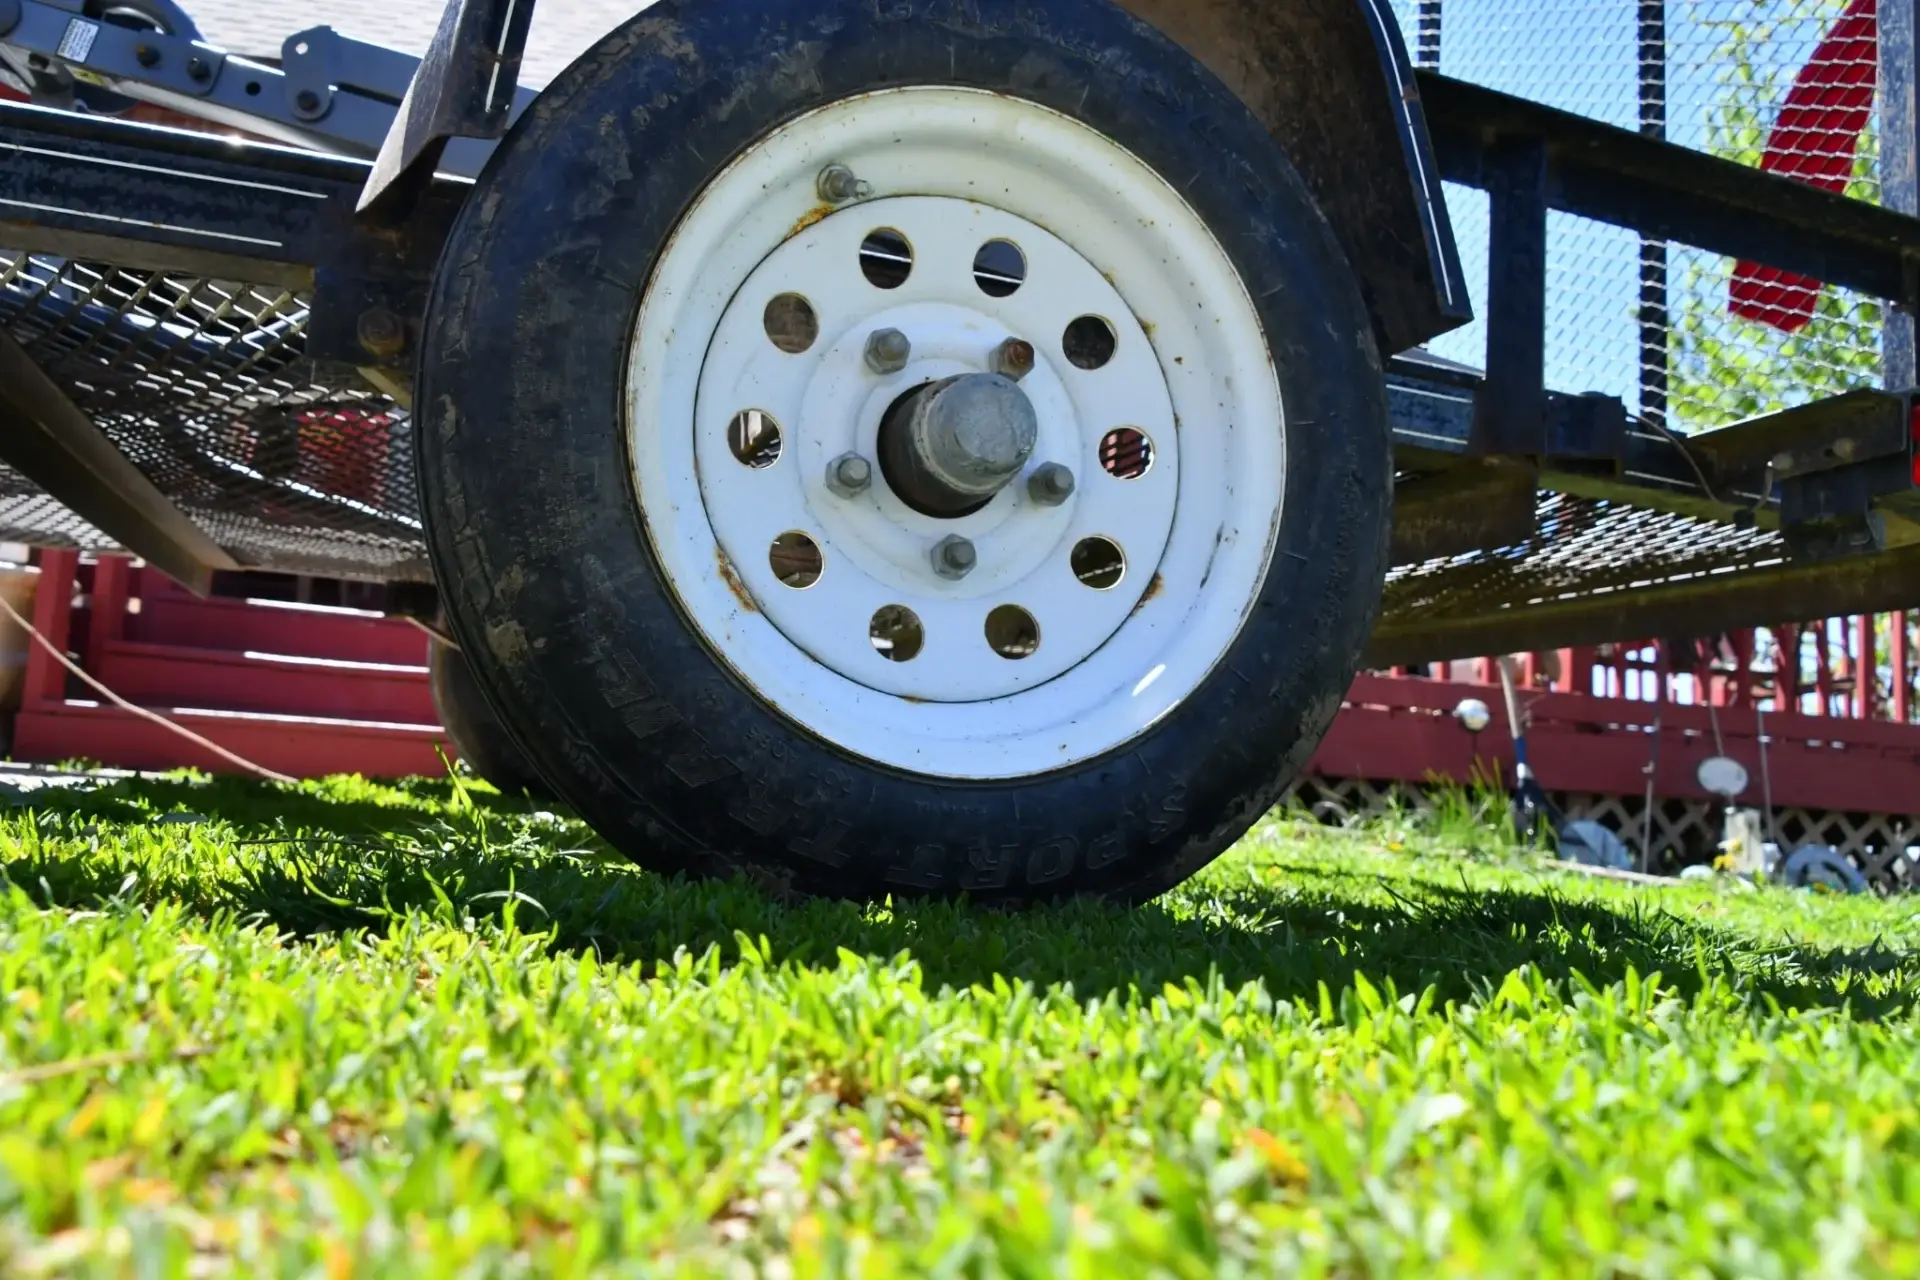
- A jack and a jack stand to safely lift and support the trailer
- A socket set and pliers
- A hammer and punch for removing old bearing races
- High-temperature bearing grease
- New bearing kits suited to your trailer
- Rags or paper towels for cleaning
Wearing gloves and safety glasses is also recommended, as the process involves grease, metal parts, and some force.
Choosing the correct replacement bearings
Not all bearings are the same, so it’s important to match them to your trailer’s make and model. Using the wrong size or type can lead to faster wear or even failure on the road. Check your trailer’s manual, or bring the old bearing set to a supplier to ensure the replacement fits.
If you are confident and prepared, replacing bearings yourself is entirely possible. However, if you are unsure about the fitment of parts or lack the necessary tools, professional help is always the safer choice.
Safety checks before starting
- Park the trailer on level ground and engage the handbrake.
- Check the opposite wheels to prevent movement.
- Ensure your jack and stands can support the trailer’s weight.
Spending time on preparation ensures the job runs smoothly and reduces the risk of mistakes during the actual replacement.
Step-by-Step: How to Change a Bearing on a Trailer
Step 1: Safely lifting and securing the trailer
Begin by loosening the wheel nuts slightly before lifting the trailer. Position the jack under the axle and raise the trailer until the wheel is clear of the ground. Place jack stands under the frame for safety before fully removing the wheel.
Step 2: Removing the wheel and hub assembly
Once the trailer is secure, remove the wheel nuts completely and take off the wheel. Next, pry off the dust cap and straighten the split pin. Remove the castellated nut and washer, then carefully slide the hub off the axle spindle.
Step 3: Cleaning and inspecting the hub
With the hub removed, clean away the old grease using a rag or solvent. Inspect the hub, spindle, and seals for signs of wear or scoring. If any part shows significant damage, replacement may be necessary before fitting new bearings.
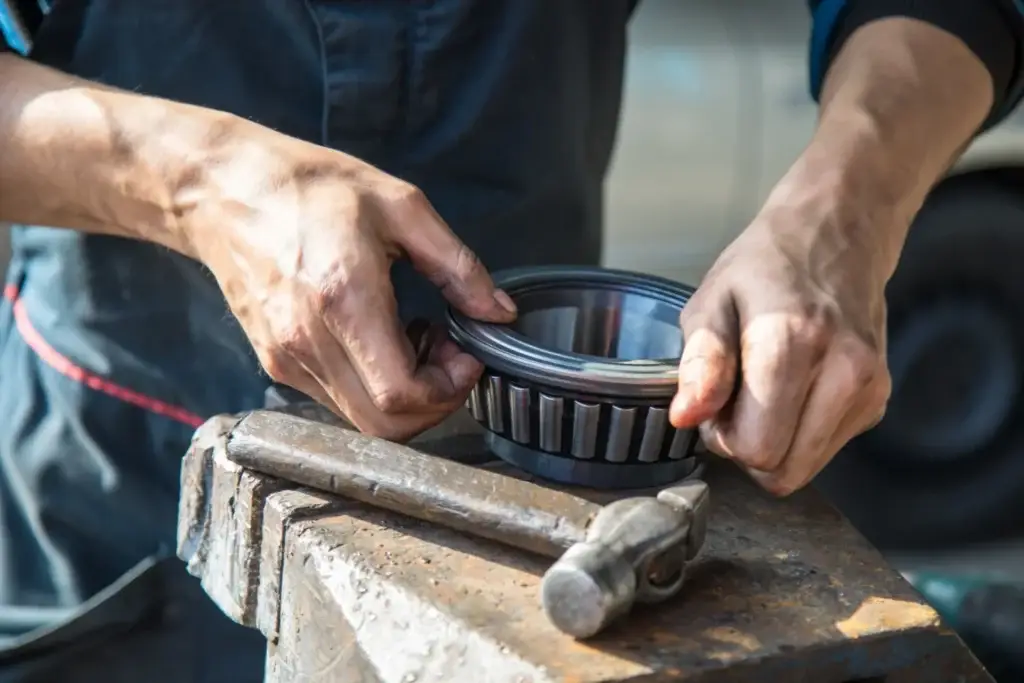
Step 4: Installing new bearing races and bearings
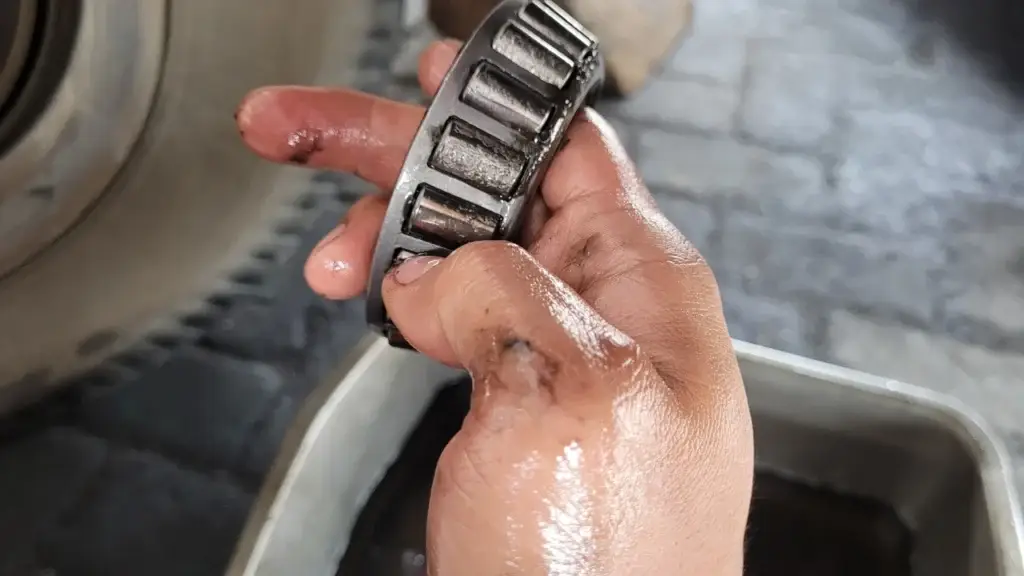
Using a hammer and punch, drive the old bearing races out of the hub. Fit the new races by gently tapping them into place until they sit flush. Pack the new bearings thoroughly with high-temperature grease, ensuring all rolling elements are coated.
Step 5: Greasing and seating the bearings correctly
Insert the inner bearing into the hub, followed by a new grease seal. Position the hub back onto the spindle, then fit the outer bearing, washer, and castellated nut. Tighten the nut while rotating the hub, then back it off slightly to ensure free movement without excessive play.
Step 6: Reassembling the hub and wheel
Once the bearings are seated correctly, refit the split pin and bend it to lock the nut in place. Replace the dust cap to keep contaminants out. Refit the wheel and tighten the nuts securely.
Step 7: Securing the dust cap and final safety checks
Before lowering the trailer, spin the wheel to check for smooth rotation. There should be no grinding or resistance. Once satisfied, lower the trailer and tighten the wheel nuts to the correct torque setting.
For an experienced person, replacing trailer bearings usually takes about an hour. If it’s your first attempt, allow extra time so you can work carefully and avoid mistakes.
Aftercare and Maintenance
How often to service or replace trailer bearings
Wheel bearings do not last forever, even with careful use. As a general rule, they should be inspected and re-greased at least once a year, or every 10,000 kilometres, whichever comes first. Frequent long-distance towing or carrying heavy loads can shorten this interval.
Preventive maintenance tips to extend bearing life
Proper maintenance will keep your bearings performing for longer. Always use high-quality bearing grease designed for trailers, and check for leaks around the seals. Avoid submerging hot hubs in water, as sudden cooling can draw moisture inside and damage the bearings. Regularly lifting the trailer and checking for wheel play or unusual noises will also help you spot early signs of wear.
Road Test After Replacing Bearings
Once the bearings have been replaced and the trailer is reassembled, a short road test is highly recommended. Start with a slow drive on local roads and listen for any unusual noises. After 15–20 minutes, stop and carefully feel the hub; it should be warm but not excessively hot. Too much heat may mean the bearings were tightened too much, while looseness or knocking suggests they need further adjustment. This quick test helps ensure everything is seated correctly before a long trip.
Confident Towing Starts with Reliable Bearings
Knowing how to change a bearing on a trailer is an invaluable skill for any trailer owner. Bearings are small components, yet they have a huge impact on safety and performance. By understanding how they work, preparing with the right tools, and following a careful step-by-step process, you can replace worn bearings with confidence.
Regular servicing and preventative care will not only extend the life of your bearings but also give you peace of mind every time you tow. If you own a King Kong Trailer, you can take advantage of our after-sales support and servicing to keep your trailer in peak condition.For those considering a new trailer or looking for reliable parts and accessories, explore the full range at King Kong Trailers. Our products are built for strength, safety, and durability, ensuring you stay road-ready wherever you travel.